Best Paint for Kitchen Cabinets Without Sanding (Complete DIY Guide)
Contents
- Best Types of Paint for Cabinets Without Sanding
- 1. Chalk Paint
- 2. Milk Paint with Bonding Agent
- 3. Acrylic or Enamel-Based Paints
- 4. Cabinet-Specific Paints
- Step-by-Step Guide to Painting Cabinets Without Sanding
- Materials You’ll Need
- Prep Phase
- Best Paint Brands for Cabinets Without Sanding
- Top Recommendations
- Budget-Friendly Picks
- FAQs
- Final Thoughts
- Sources
When we moved into our new home, I wanted the kitchen to feel like the centerpiece of the house: inviting, fresh, and uniquely ours. The problem? The cabinets were outdated, and sanding them down felt like way too much work. That’s when I set out to find the best paint for kitchen cabinets that didn’t require sanding.
What I discovered completely transformed our kitchen without the headache of endless prep work. The finish turned out smooth, durable, and professional-looking, all with far less effort than I expected. In this guide, I’ll break down the exact paint types, step-by-step process, and even the brands I used to pull it off.
Best Types of Paint for Cabinets Without Sanding
1. Chalk Paint
Chalk paint was the first product I tested, and honestly, it blew me away. Annie Sloan says its Chalk Paint rarely needs sanding or priming, but kitchen cabinets must be spotlessly clean, because cooking grease affects the finish.
The paint goes on like butter and dries into a soft matte finish that feels modern yet cozy. Seal it with wax or a clear lacquer, since cabinets take a lot of handling. For DIY-ers, this is one of the simplest ways to get started.
2. Milk Paint with Bonding Agent
If you want a little creative freedom, milk paint is worth trying. It’s made from simple ingredients like milk protein and lime, and it needs a bonding additive to stick to previously finished or glossy cabinets.
The coolest part is experimenting with texture: you can make it smooth or give it a chippy, vintage vibe. Seal it with a clear topcoat once it dries. Our cabinets became instant conversation starters after using this.
3. Acrylic or Enamel-Based Paints
These paints are built for busy households. A satin or semi-gloss finish not only looks sleek but also wipes clean easily. With kids running around and constant cooking, durability was a must for me.
Most enamel makers still call for scuffing or dulling glossy surfaces, so pair these with a deglosser and a bonding primer if you skip the sandpaper. Months later, the cabinets still look great, even after plenty of sticky fingerprints and spaghetti sauce splatters.
4. Cabinet-Specific Paints
There are paints and kits made specifically for cabinets, and they’re worth considering. They resist grease, stand up to heavy use, and deliver a lasting finish.
Some, like Rust-Oleum Cabinet Transformations, are built around a deglosser instead of sandpaper. These are the heavy-duty option for kitchens that take daily abuse.
Step-by-Step Guide to Painting Cabinets Without Sanding
Here’s exactly how I handled the process:
Materials You’ll Need
- Degreaser or TSP cleaner
- Liquid deglosser (liquid sandpaper)
- Bonding primer
- High-quality brushes and foam rollers
- Cabinet paint (oil-based or enamel preferred)
- Painter’s tape, drop cloths, and microfiber cloths
Prep Phase
- Deep Clean: Scrub every cabinet to remove grease and residue, then rinse and let it dry.
- Degloss: Apply liquid deglosser for a dull, clean base. Wear gloves and keep the room ventilated.
- Primer: Use a bonding primer for maximum adhesion.
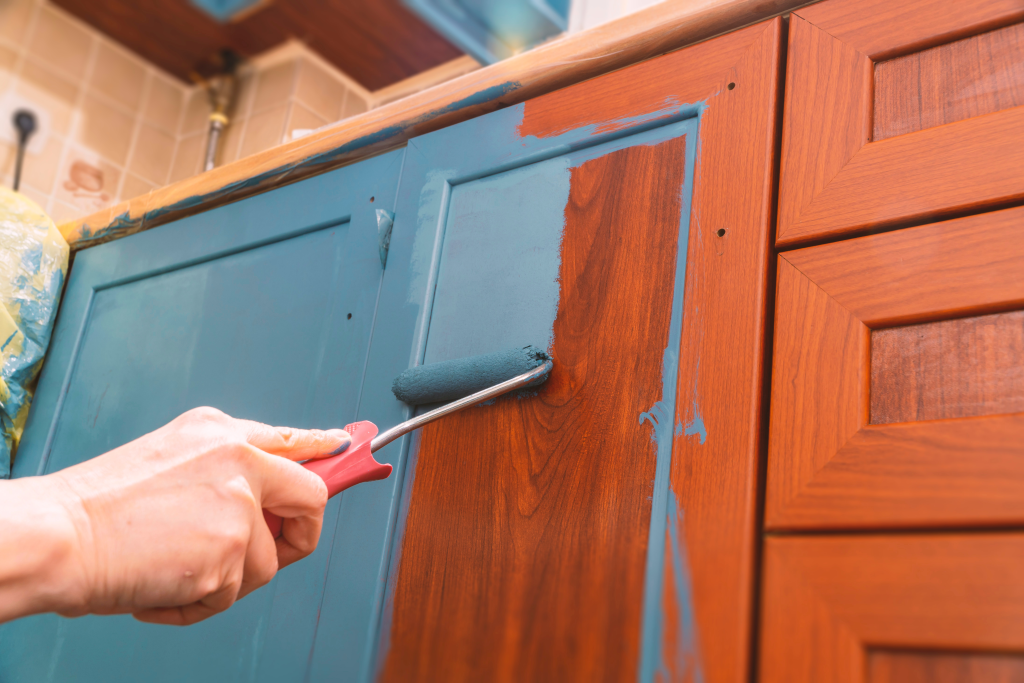
- Paint: Apply multiple thin coats using a roller for flat surfaces and a brush for edges.
- Drying Time: Be patient. Wait the full recoat time on the label before the next coat.
The secret is thin coats. It takes longer, but the end result looks like it came straight from a professional.
If your home was built before 1978, the old cabinet finish may contain lead. The EPA warns that disturbing old lead-based paint can create hazardous dust, so test it before you scrape or scuff anything.
Best Paint Brands for Cabinets Without Sanding
Over time, I tested several different options, from premium to budget-friendly. Here’s what worked best:
Top Recommendations
- Annie Sloan Chalk Paint – Perfect matte finish, usually no primer needed; seal it for cabinets.
- Rust-Oleum Cabinet Transformations – A kit with its own deglosser, bond coat and protective top coat.
- Benjamin Moore Advance – Levels out brush strokes well, but the maker recommends scuff sanding cabinets before priming.
Budget-Friendly Picks
- BEHR Premium Cabinet, Door & Trim Enamel – Reliable option from Home Depot with a smooth finish; use it over a bonding primer.
- Valspar Cabinet & Furniture Enamel – An oil-enriched formula that levels nicely, even if your brush skills aren’t perfect.
- Color Place (Walmart) – A solid budget choice when paired with a separate bonding primer.
FAQs
Can you really skip sanding? Often, yes. A thorough deglosser and a bonding primer do the heavy lifting, but check the label: some enamels still call for a light scuff.
How long does the process take? Plan on about four days of work: one for cleaning, one for priming, and two for painting. Treat the doors gently for a few weeks, since many cabinet enamels take that long to fully harden.
Does the paint hold up long-term? Yes, with good prep and a full cure. With kids slamming doors daily, my cabinets still look fresh months later.
How do you avoid brush marks? Use a foam roller for flat areas and thin coats of quality paint. Self-leveling paints also help.
Final Thoughts
Updating your kitchen cabinets doesn’t have to involve sanding, dust, and weeks of work. With the right prep, the right materials, and a little patience, you can completely transform your kitchen.
For me, using no-sand methods not only saved time but also gave me results I’m proud to show off. If you’ve been putting off a cabinet upgrade, this approach is very doable and far more budget-friendly than hiring it out.
Sources
- How to Prepare a Surface for Chalk Paint®, Annie Sloan
- Advance® Waterborne Interior Alkyd Semi-Gloss (793) Technical Data Sheet, Benjamin Moore
- Cabinet Transformations Technical Data (CAB-01), Rust-Oleum
- Protect Your Family from Sources of Lead, U.S. EPA